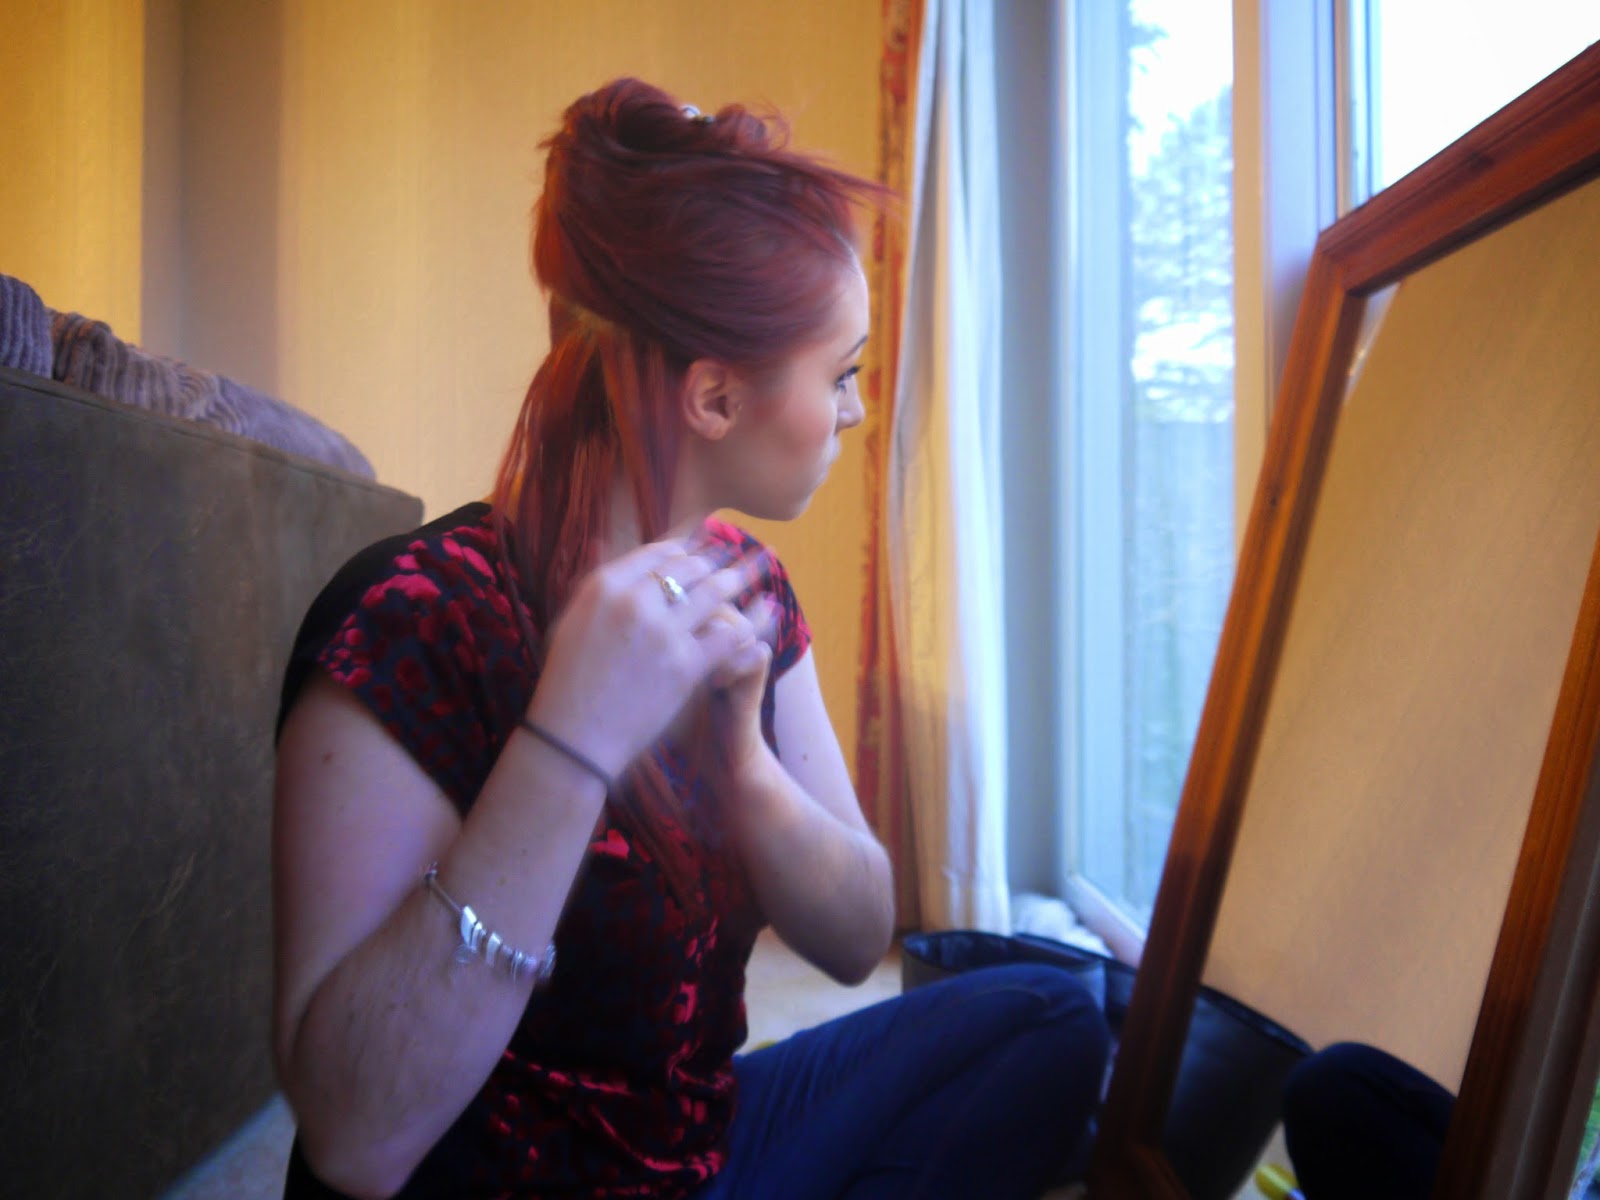
This hairstyle is so quick and simple to do, it takes me about 15 minutes, but I do have a feeling that trying to explain it to you will be more of a challenge, especially as I am not the best at explaining things at the best of times. Let's see how it goes.
The title says waves, which this look is, however it's more of a big crimp - you will see what I mean once we get into the tutorial, perfect if you're having a bit of a drab hair day or you're on second day and you just don't know what to do with it. Styling your hair this way with a straightener creates volume and lift at the roots, so it puts a bit more oomph into bad hair days!
What I use:
1. Comb
2. Head Jog Clip
3. SHE Hair Straighteners
4. Argan Oil Heat Defence Spray
To start you will need to have dry hair, brush it through to remove any tangles this will make your hair smoother and easier to work with. Then make sure you add your heat defence spray to protect your hair and prevent any breakages and dryness. Give your hair another quick brush to make sure that the product is evenly distributed.
I always style my hair in about 3-4 sections when using heat tools, the first being from just behind my ear and clip the remaining hair on the top of my head, then I split that section into two and bring them to the front.
Now, you want to take about an inch of hair, it doesn't matter if it's not exact, however bare in mind that the smaller the section the tighter the wave and the bigger the section the looser the wave. If you want uniform waves then try and get the section relatively the same size.
Clamp the straightener at the root of your section of hair and twist it 180º towards your face moving the straightener slightly down your hair to create your first crimp, the further your move down the bigger the crimp.
Then twist it 180º in the opposite direction, and repeat all the way until the end of your hair - are you following this?
If not, here is another section. So clamp the straightener at the root, twist 180º towards your face, pull the straightener down slightly and then twist 180º in the opposite direction.
Got it? Right, continue that process through the entire section and then grab your next section of hair from just above your ears - or level with your temples - and repeat the steps.
Once you've crimped you're entire head, it should look a little something like this. You can leave it like this if you like but I like to give it a little shake and run my fingers through to loosen everything up and create a little more volume. What ever you do do not brush it, this will create frizz and we don't want that no, do we?
And this is the final look!
I hope you like this hairstyle, if you try it out I would love to see! Use the hashtag #BeautSmartTutorial on Twitter and Instagram.
xxx


No comments:
Post a Comment