Hi everyone!
I realised that it has been over a month since I did a tutorial - bad blogger points - so with that in mind, I thought it was about time that I did one for you. I didn't really have a look in mind when I started this, I just sort of made it up as I went along, I hope you like it!

What I used:
 |
| Real Techniques Buffing Brush |
 |
| Real Techniques Contour Brush |
 |
| MUA Undress Your Skin Illuminating Foundation - Porcelain |
 |
| Rimmel Clear Complexion - Transparent |
 |
| Maybelline Dream Terra Sun - Tiger |
 |
| Collection Shimmer Shades - Blushalicious |
 |
| Urban Decay Naked 3 Palette |
 |
| Maybelline Master Precise Liquid Eyeliner - Black |
 |
| Essence I Love Extreme Volume Mascara |
 |
| NYX Butter Liptick - Pops |
If you guys have read my review of MUA Undress Your Skin Foundation then you will know that it takes a lot of effort to apply with a foundation brush, so I apply it using my Real Techniques Miracle Complexion Sponge with dabbing motions. This way of applying the foundation leaves me with a flawless look to my skin, with no lines and an even coverage.

I then set my foundation with Rimmel Clear Complexion Transparent Powder with my Real Techniques Buffing Brush in light and gentle circular motions.
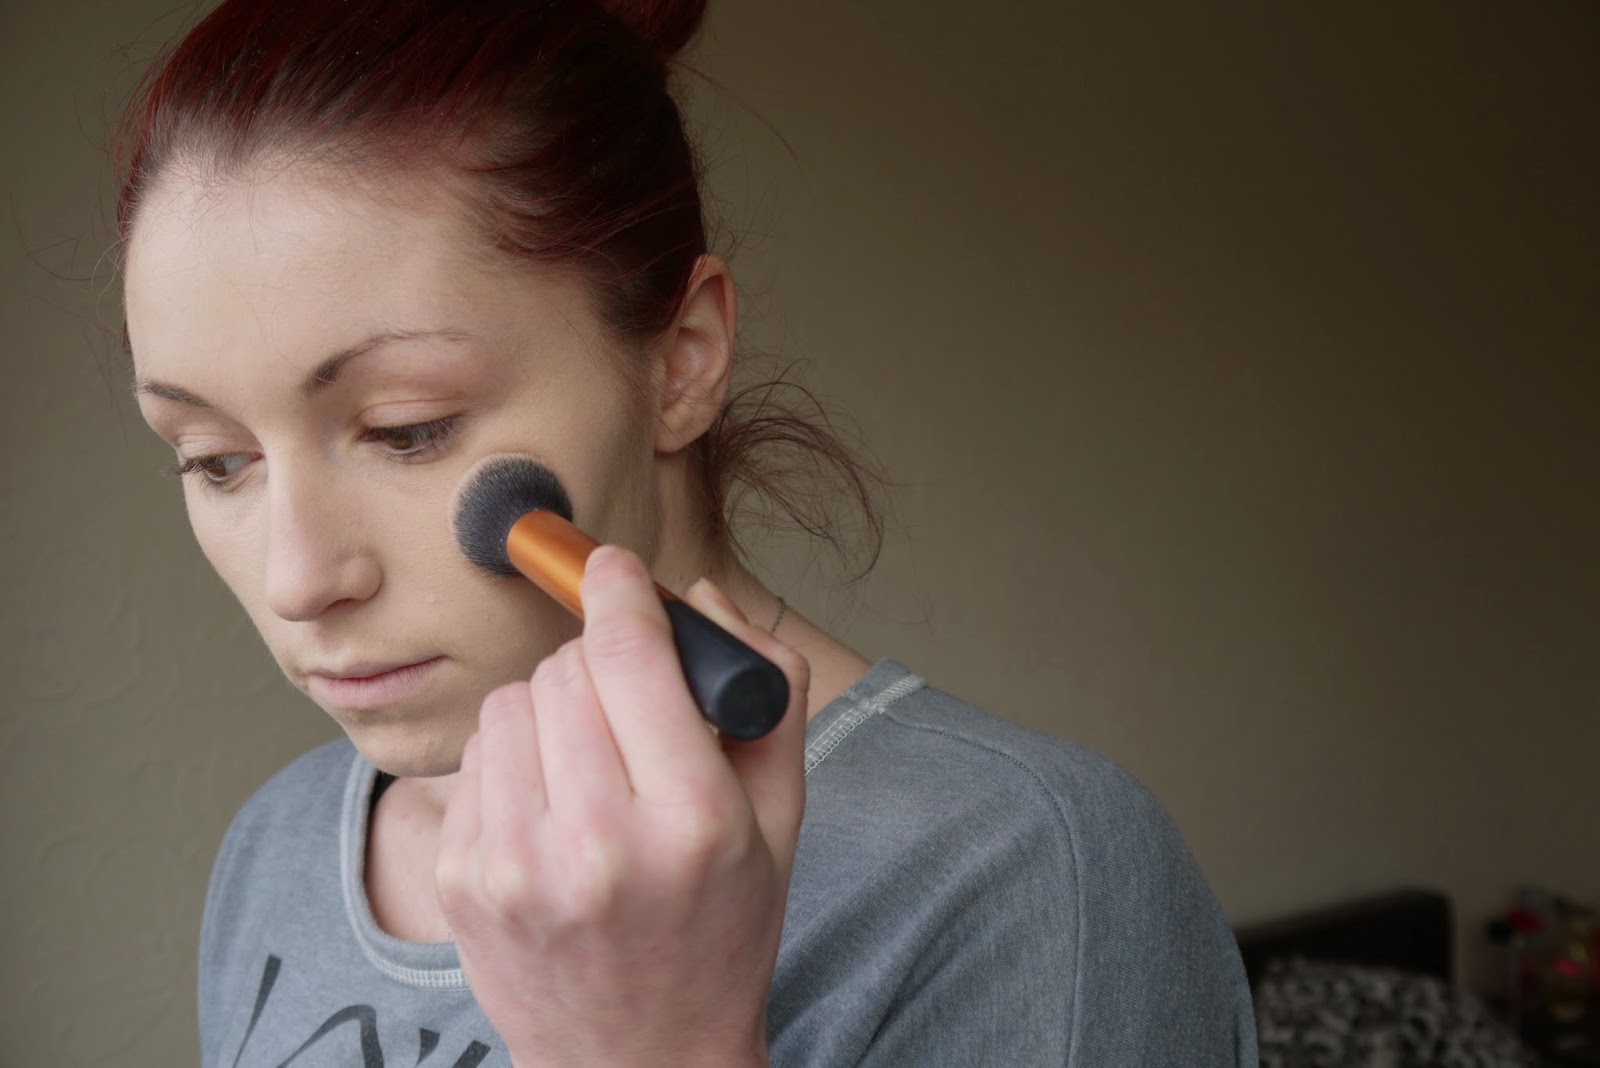
I didn't want to do a full on contour with this look, I just wanted to add a bit of colour and definition to my face. So with my Real Techniques Contour Brush I took a little of Maybelline Dream Terra Sun Bronzer in the shade Tiger into the hollow of my cheeks, around my hairline and along my jawline.


Still with the same contour brush I sweep my Collection Shimmer Shades blusher across my cheek bones, then I do a cheeky grin and apply any excess onto the apples of my cheeks in circular movements. Then quickly going back to my buffing brush, I blend my bronzer and blusher, making sure that it blends softly together.


To fill in my brows I used Rimmel Professional Eyebrown Pencil in the shade Dark Brown, all I do is follow my natural brow line and fill in the parts where I want it to look thicker.

Grabbing my Urban Decay Naked 3 Palette and the brush it comes with, I applied Strange all over my lid using the fluffy brush and blended it upwards into the crease a little bit.
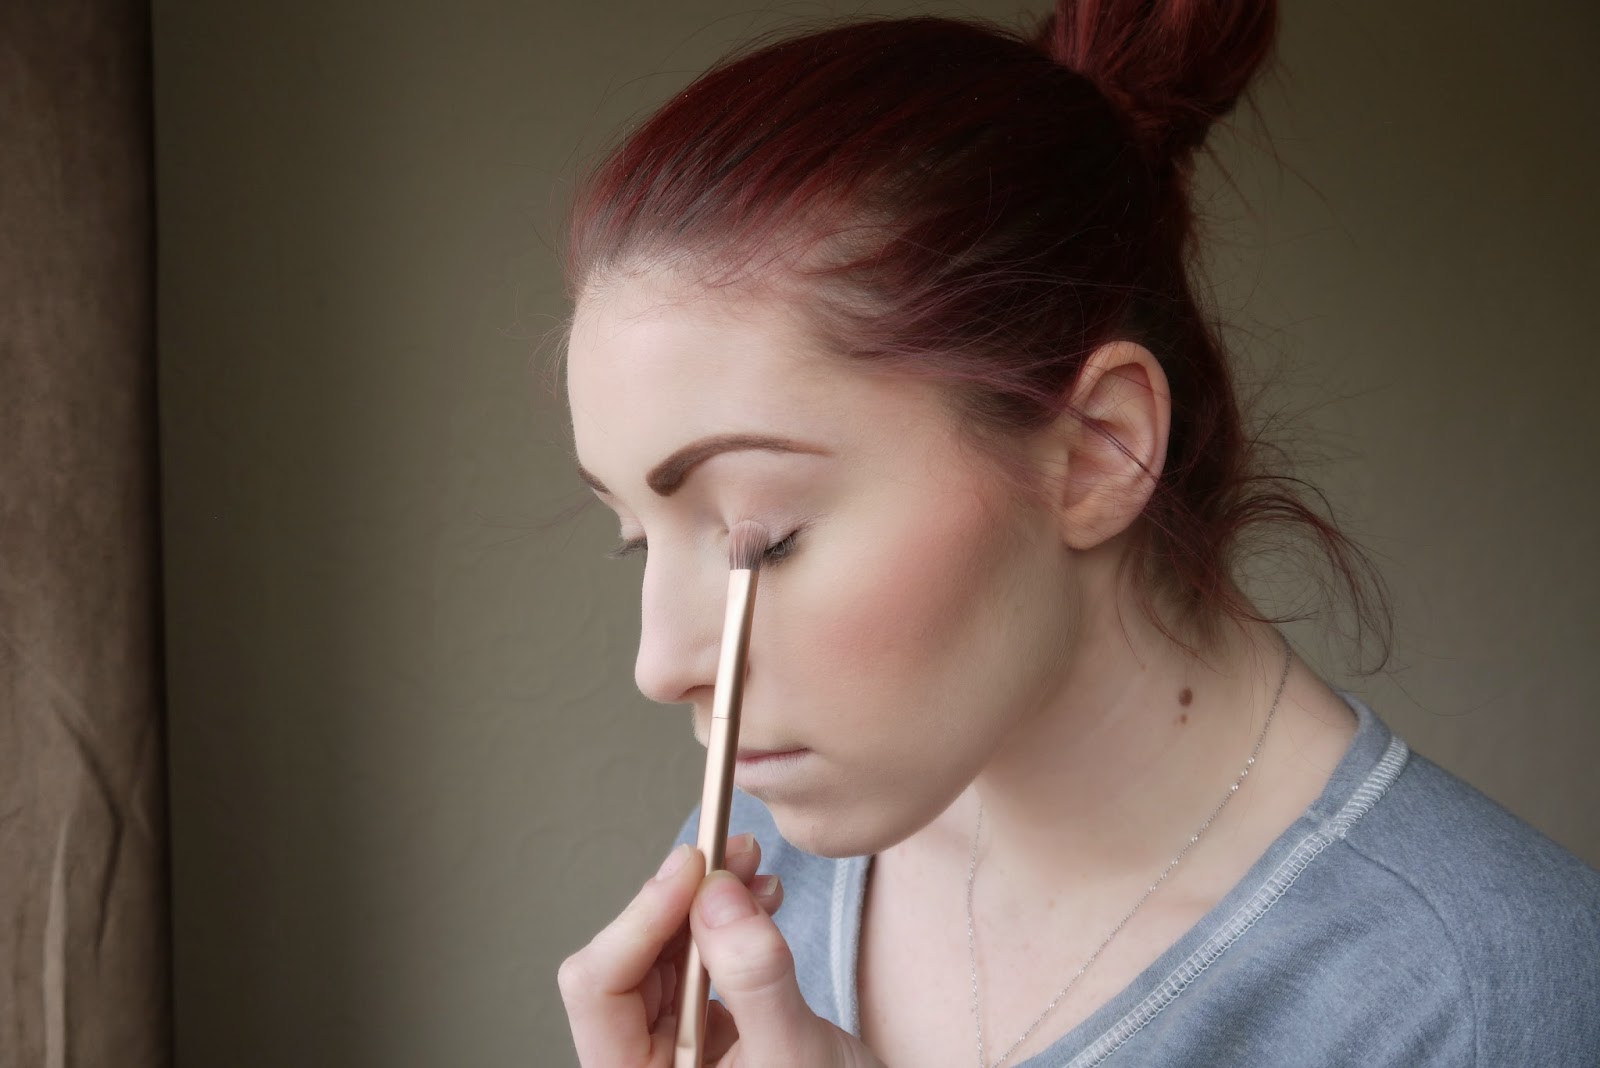
Still with the fluffy brush I applied Limit into my crease and built up the colour until I reached desired darkness, I then blended it up towards my brow bone to make sure there were no harsh lines.

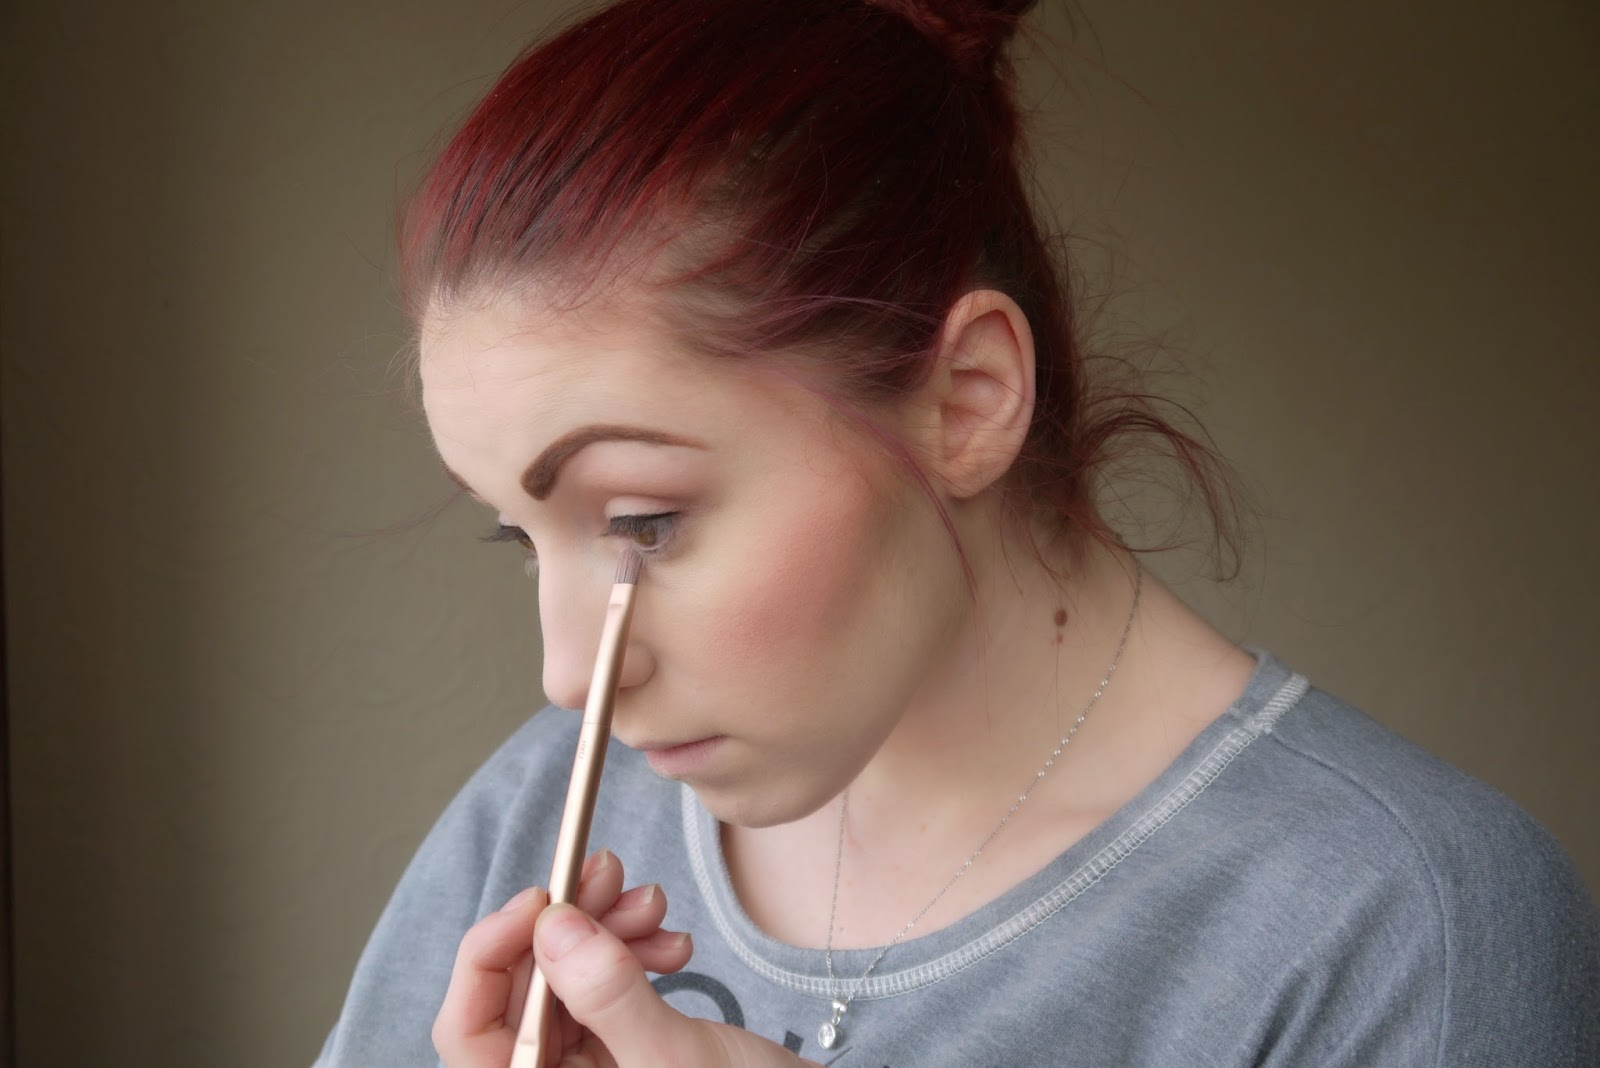
Now using the smaller brush to get a more defined application, I put Nooner into the crease and outer v of my lid to darken up the look a little bit and smoke it out. And again I blended that out upwards to my brow bone, getting rid of any harsh lines.


Still with the small brush, I applied Strange on my brow bone as a highlight and onto my eyelid from the inner corner into the middle. I used the fluffy brush to go over it all to blend it all together.


I drew a fine line with my Maybelline Master Precise Liquid Eyeliner, by applying the liner as close to the my lashes as possible.


I went back to my Naked 3 Palette with the small brush and took Strange across the inner corner of my lower lash line and Nooner across the outer corner of my lower lash line and blended them together.

I then applied 2 coats of my Essence I Love Volume Mascara, which featured in my February Favourites - I am still loving it - I have also written a full review on it, click here to give it a read.


To finish off this look, I grabbed my NYX Butter Lipstick in the shade Pops to applied that to my lips. I really like the colour of this lipstick, nudes tend to wash me out a little bit, but the pink undertones in this lipstick suit me quite well. Perfect for a neutral, everyday make up look and I bet it would look beautiful with a dramatic smokey eye too!

And this is the final look, I hope you like it!


What's your neutral make up look? If you recreate this one, be sure to use #BeautSmartTutorial on Facebook, Twitter or Instagram.
xxx
Gorgeous look :) Love your eyebrows!
ReplyDeleteKirsty | www.kirsty.ws
Thank you Kirsty! xxx
Delete